


Time:2026-03-26 Views:152
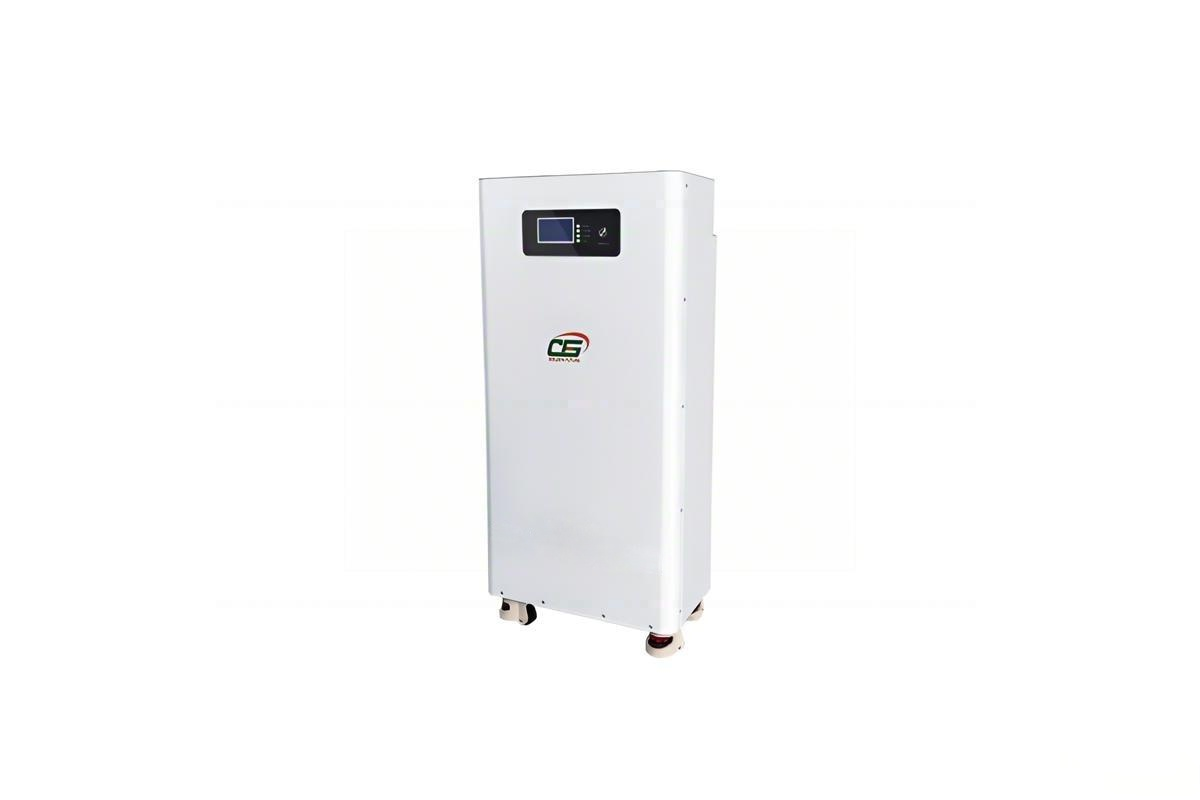
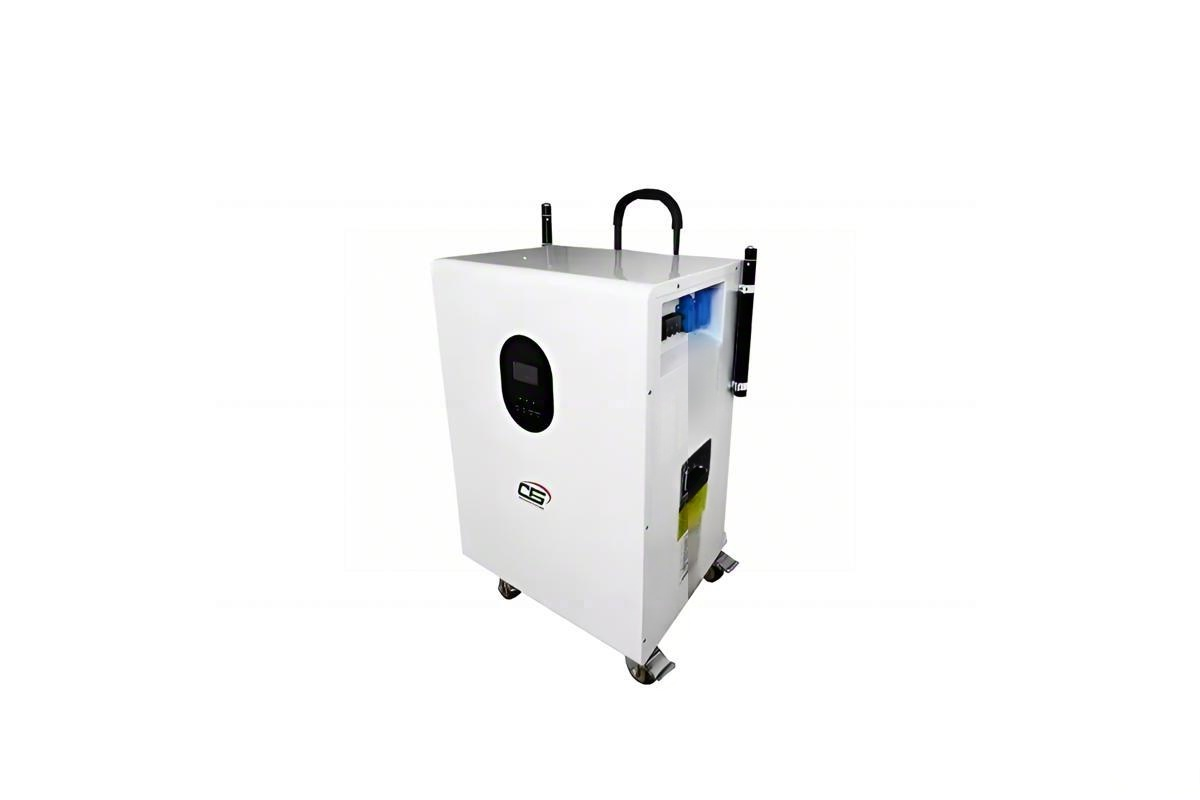
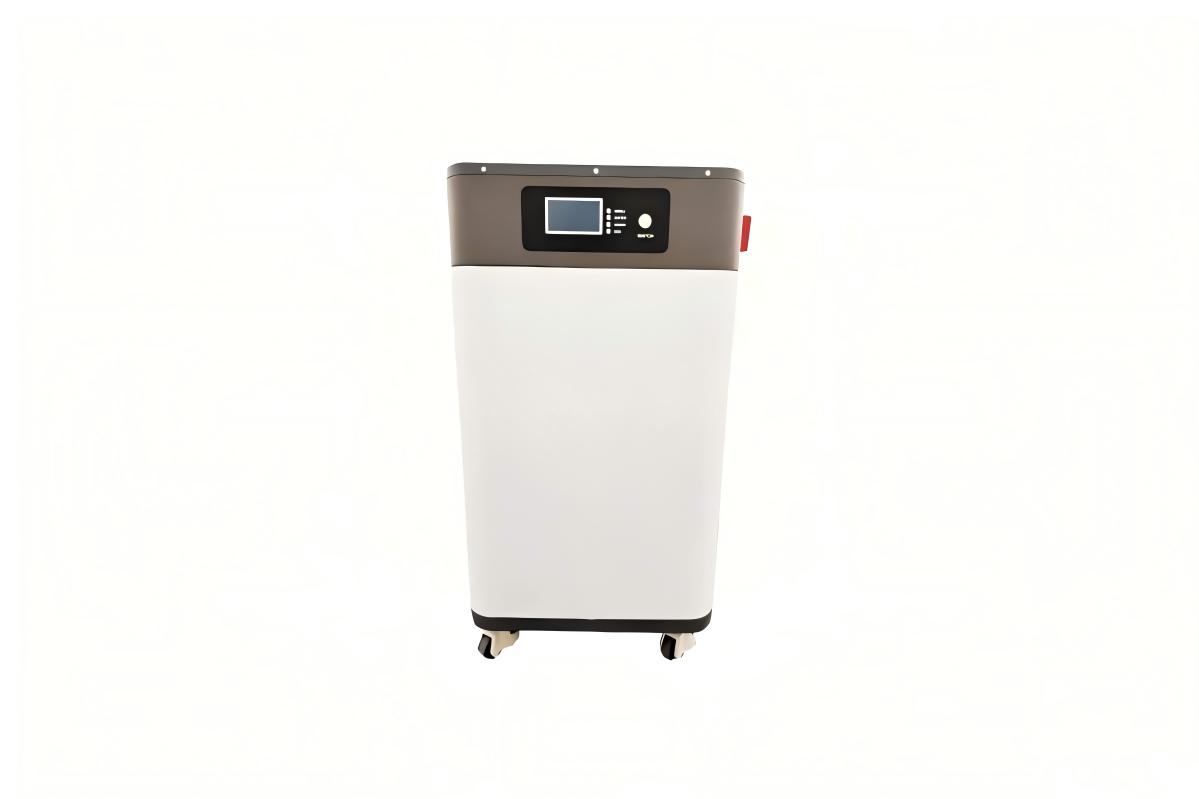
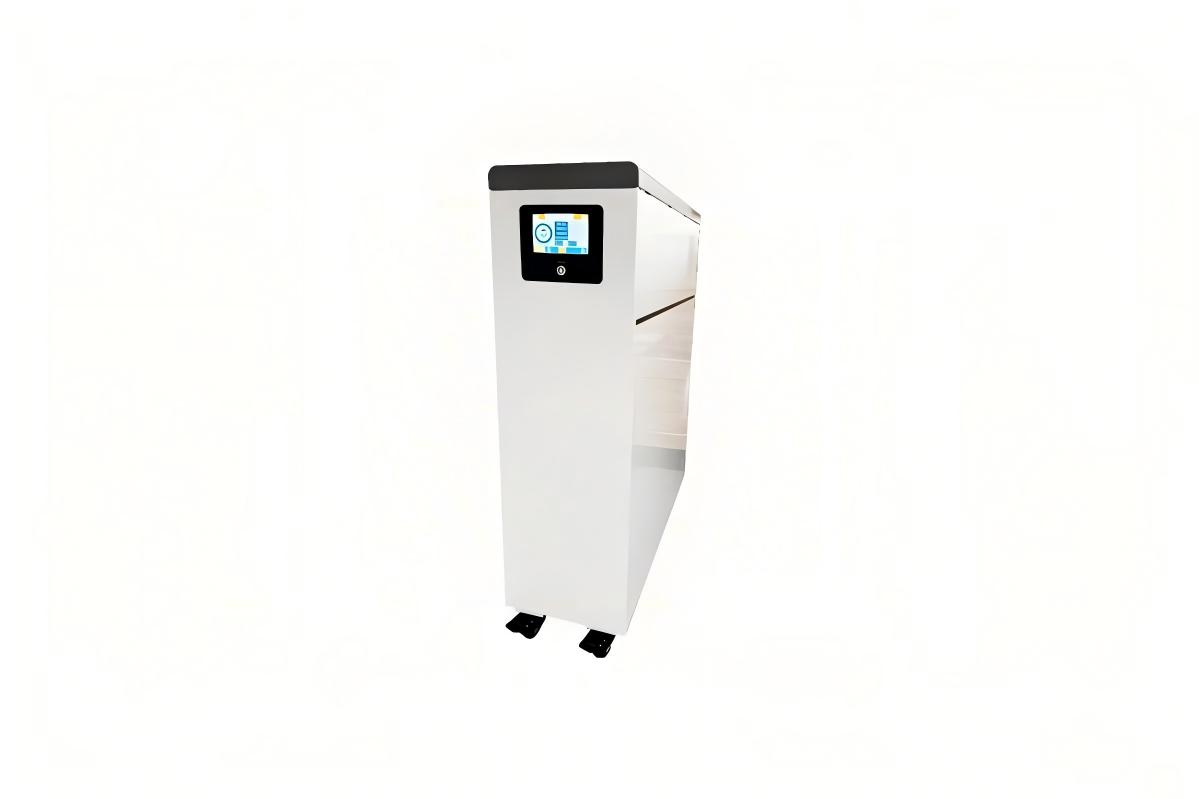
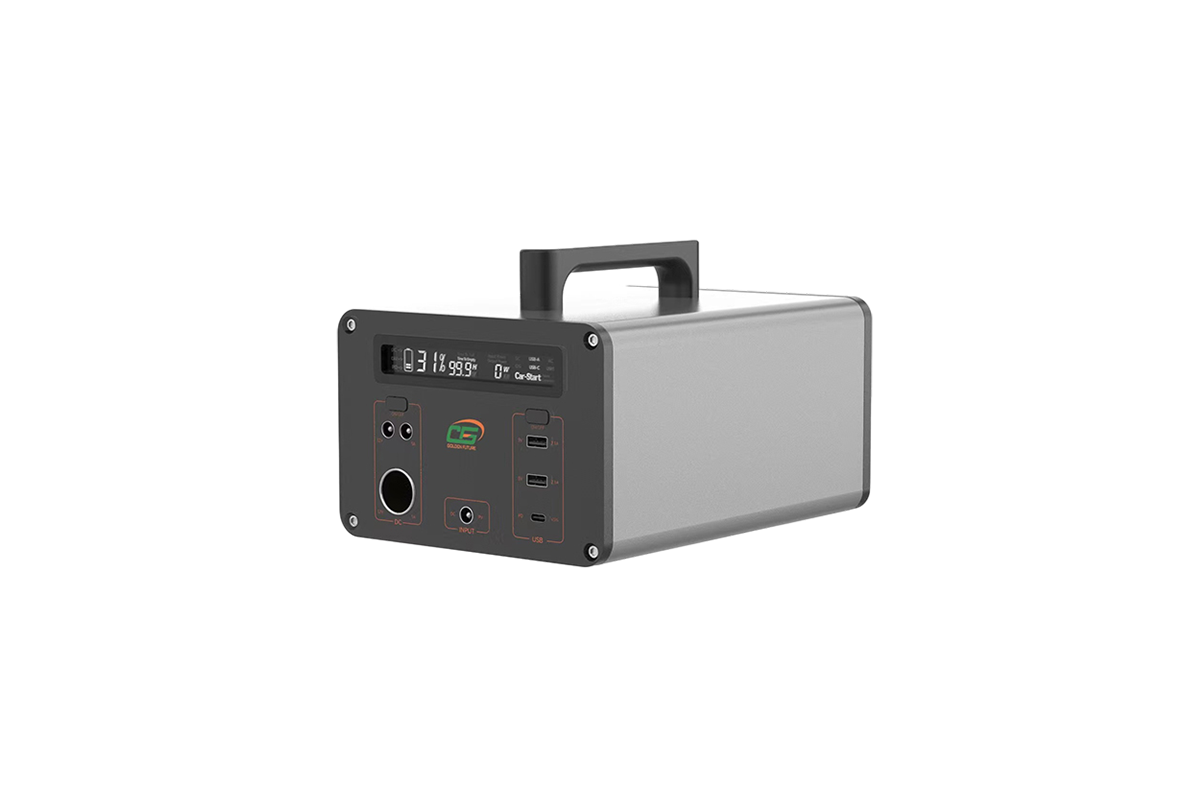
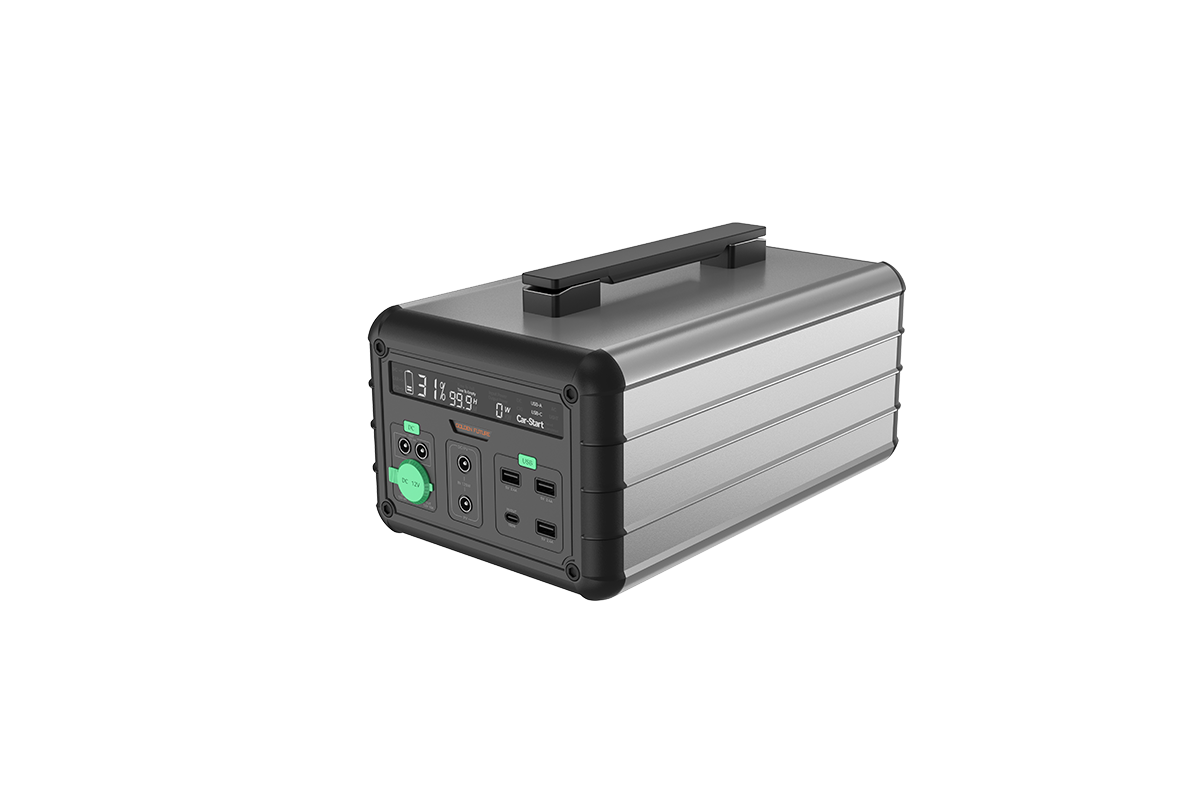
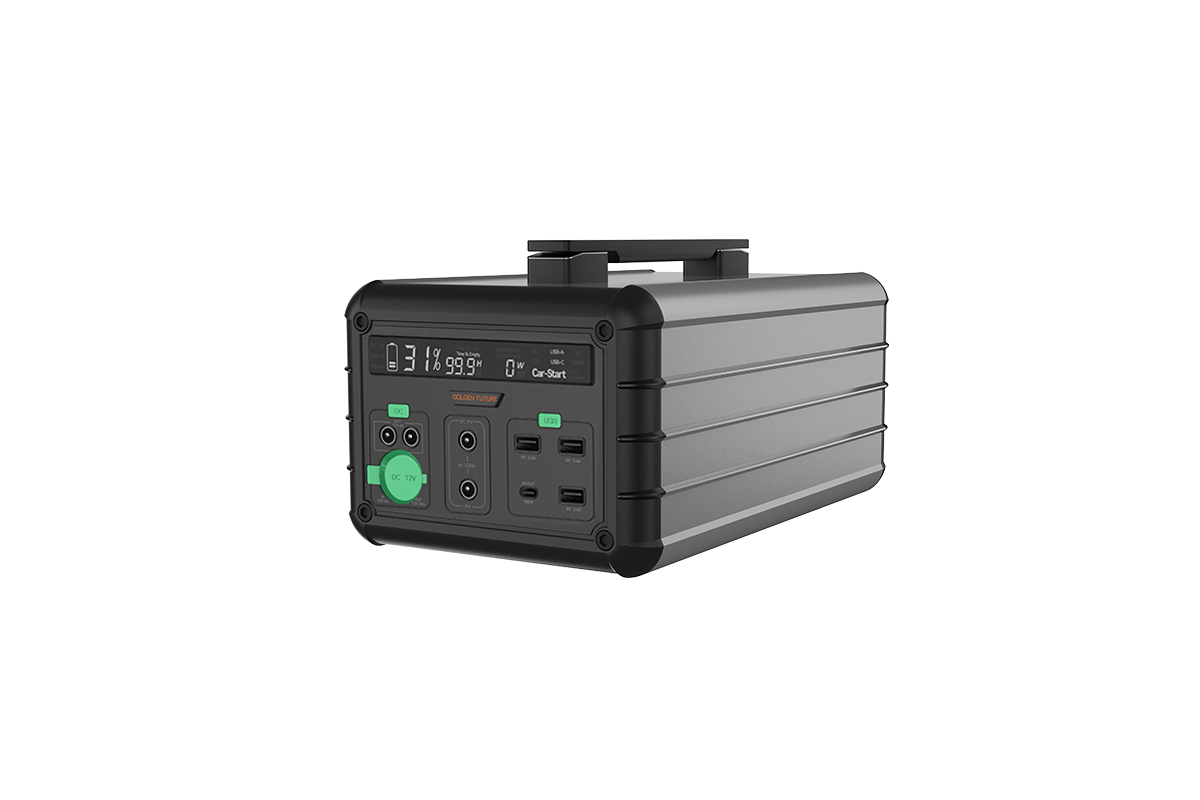
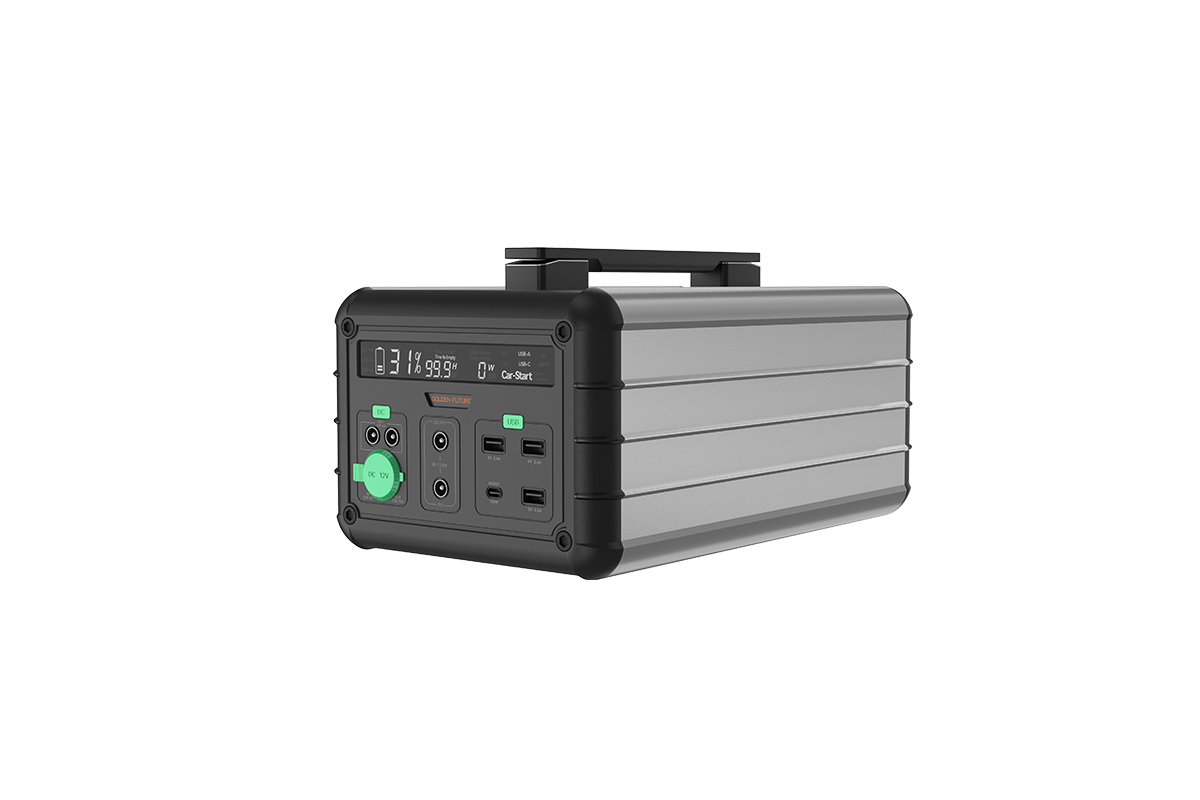
Portable solar power stations are user-friendly devices that combine solar charging, battery storage, and power output into one compact unit, and their usage can be divided into three core steps: solar charging, power storage, and device power supply. Regardless of the brand or wattage (including 1000W models), the basic operation principles are consistent, with slight variations in specific steps based on additional features. Before using any portable solar power station, it is essential to read the user manual to familiarize yourself with the device’s ports, switches, and safety precautions, as improper use may damage the device or connected appliances. These power stations are designed for versatility, suitable for outdoor adventures, home emergencies, remote work, and other scenarios where access to grid power is limited or unavailable.
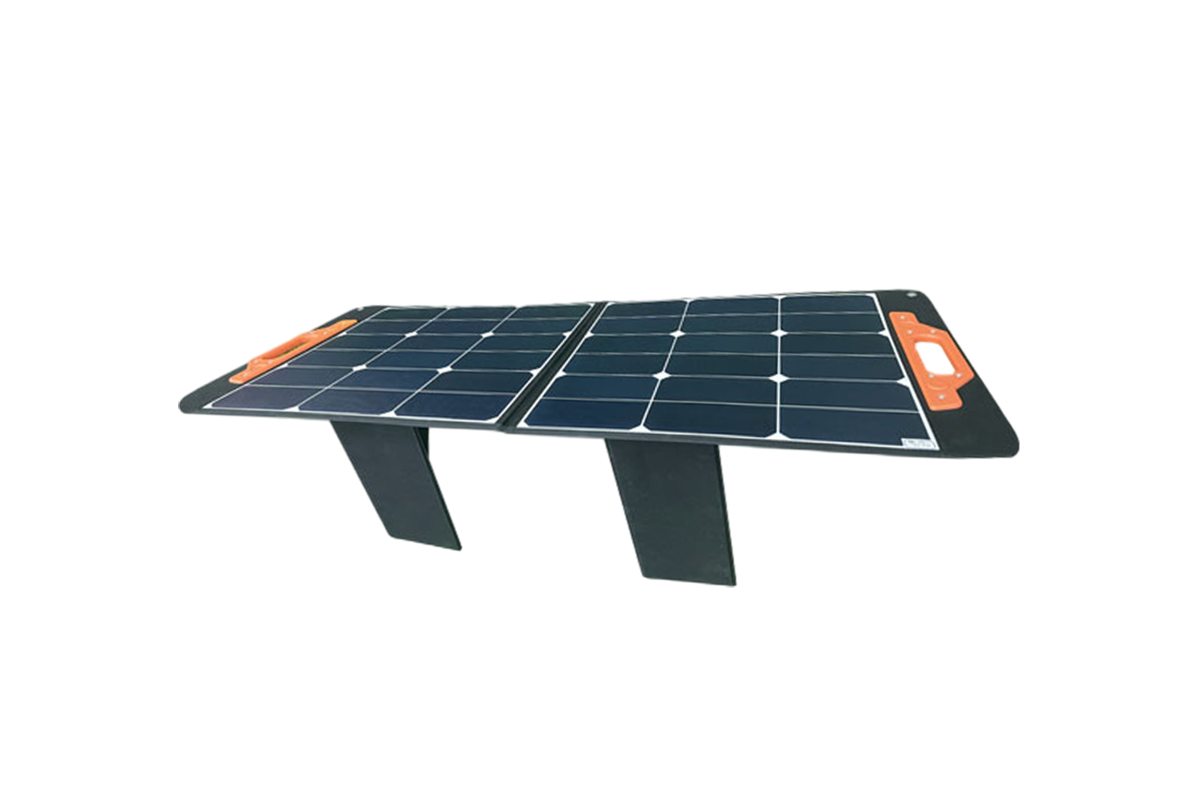
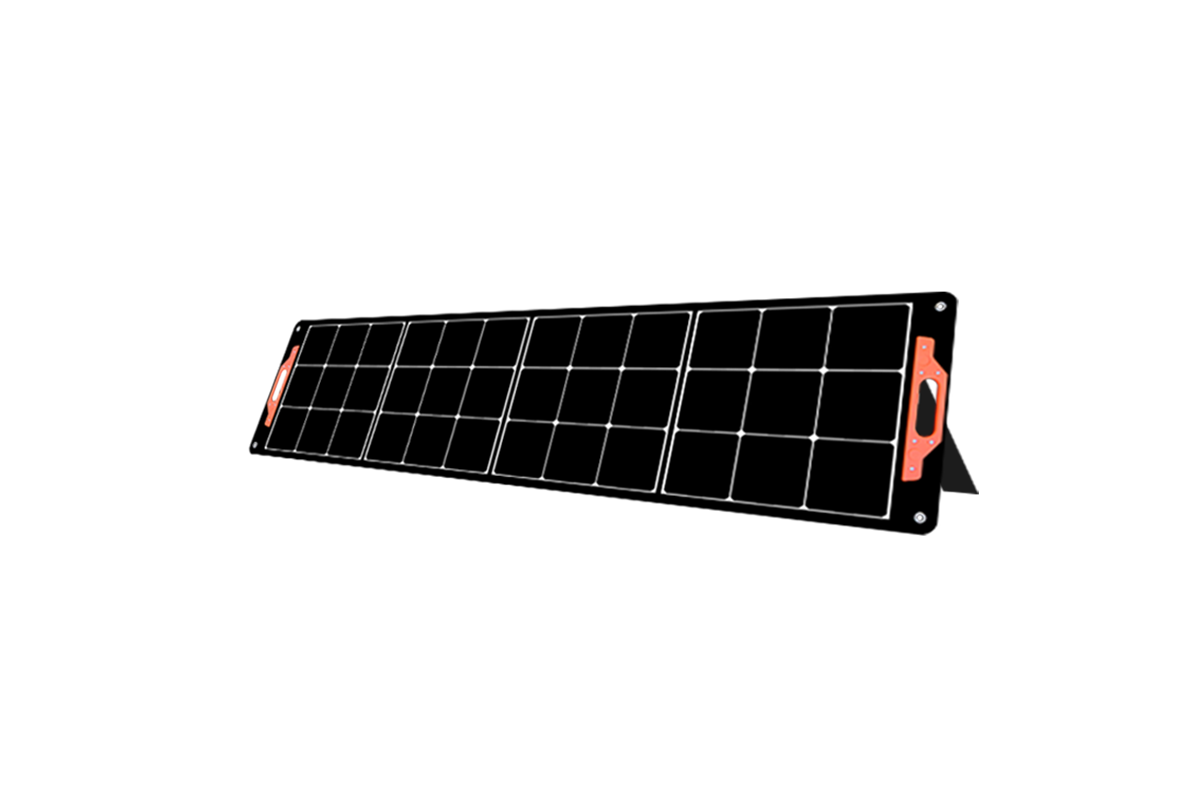
The first step is solar charging, which is the core feature that distinguishes solar portable power stations from regular portable power stations. To charge the power station using solar energy, start by closing the battery control switch on the device. Then, connect the solar panel to the power station’s dedicated solar input port – ensure the connection is secure and the positive and negative poles are correctly aligned to avoid damage. Next, place the solar panel in an open area with direct sunlight, avoiding shade from trees, buildings, or other obstacles, as this will significantly reduce charging efficiency. Most solar panels have an adjustable stand, allowing you to angle them towards the sun for optimal absorption (usually a 45-degree angle is ideal). The power station’s digital display will show the solar charging current and voltage, indicating that the charging process has started. In sunlight enough conditions, a 100W solar panel can fully charge a 1000Wh 1000W power station in 10-12 hours, while higher-wattage solar panels (200W+) can shorten the time to 5-6 hours. It is important to note that you should not disconnect the battery control switch during charging to prevent damage to the device.
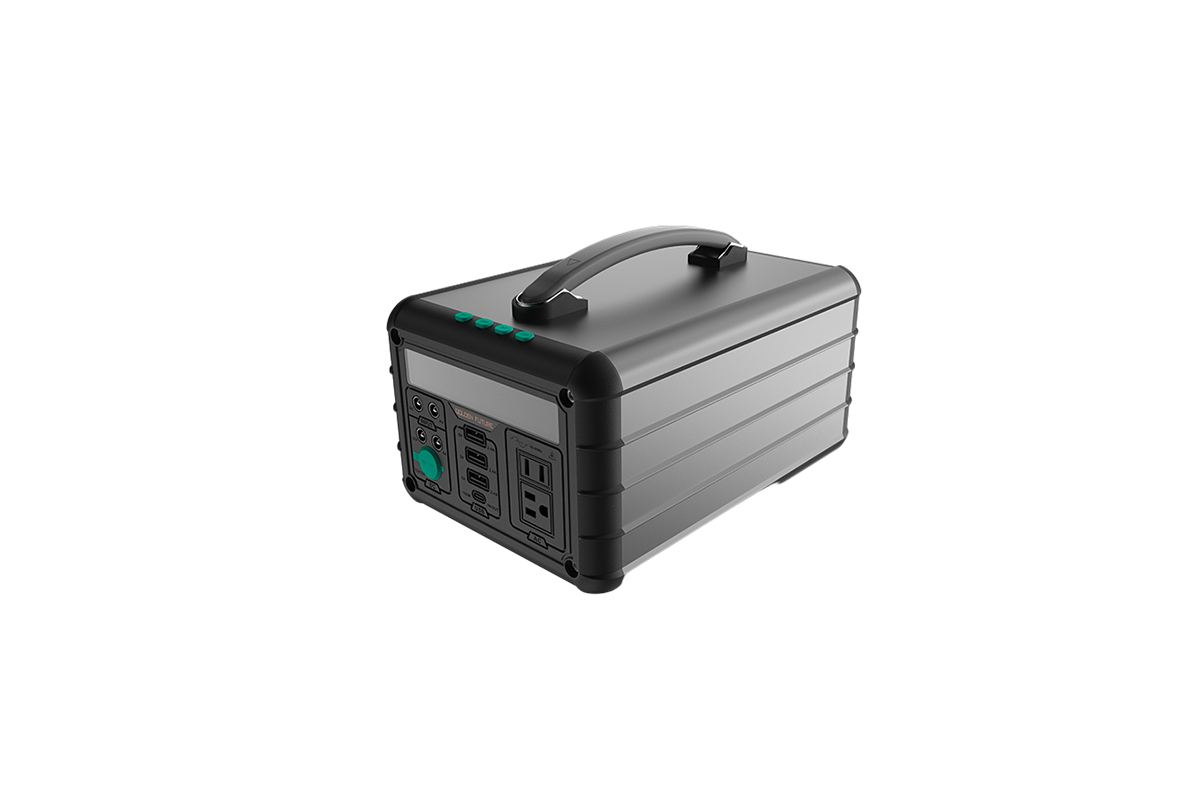
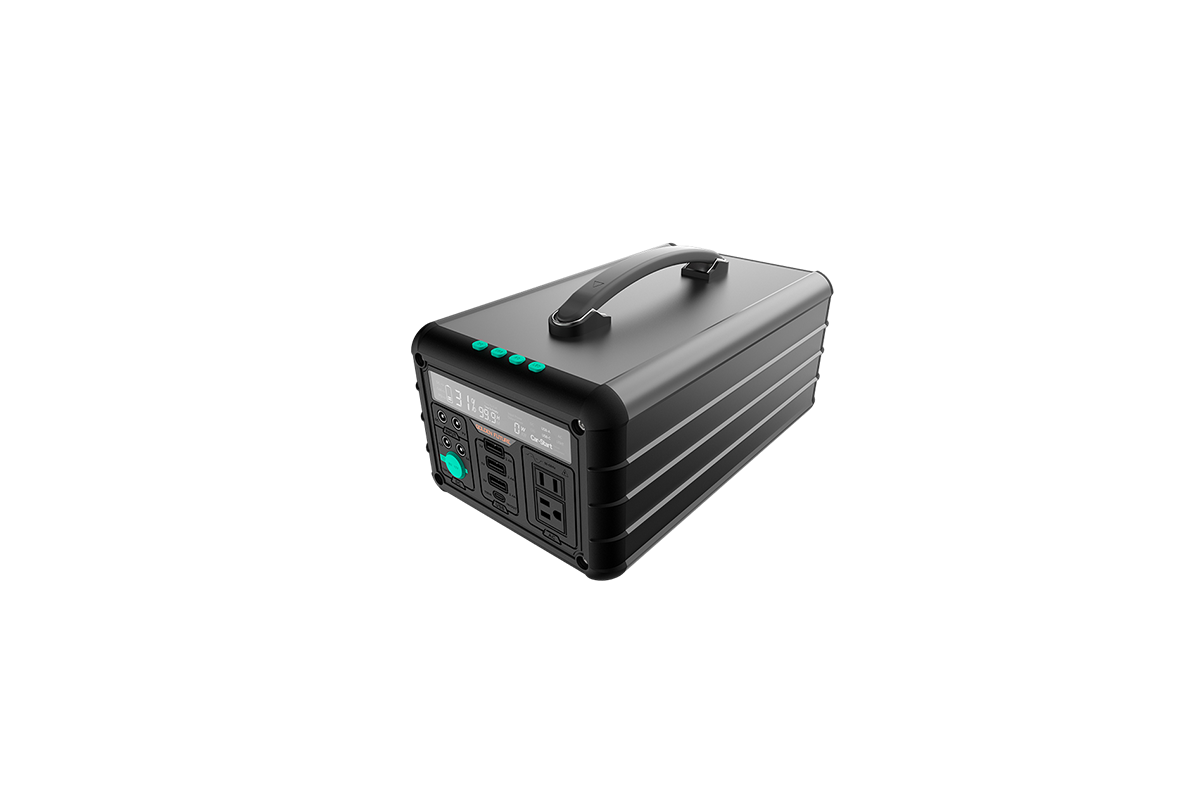
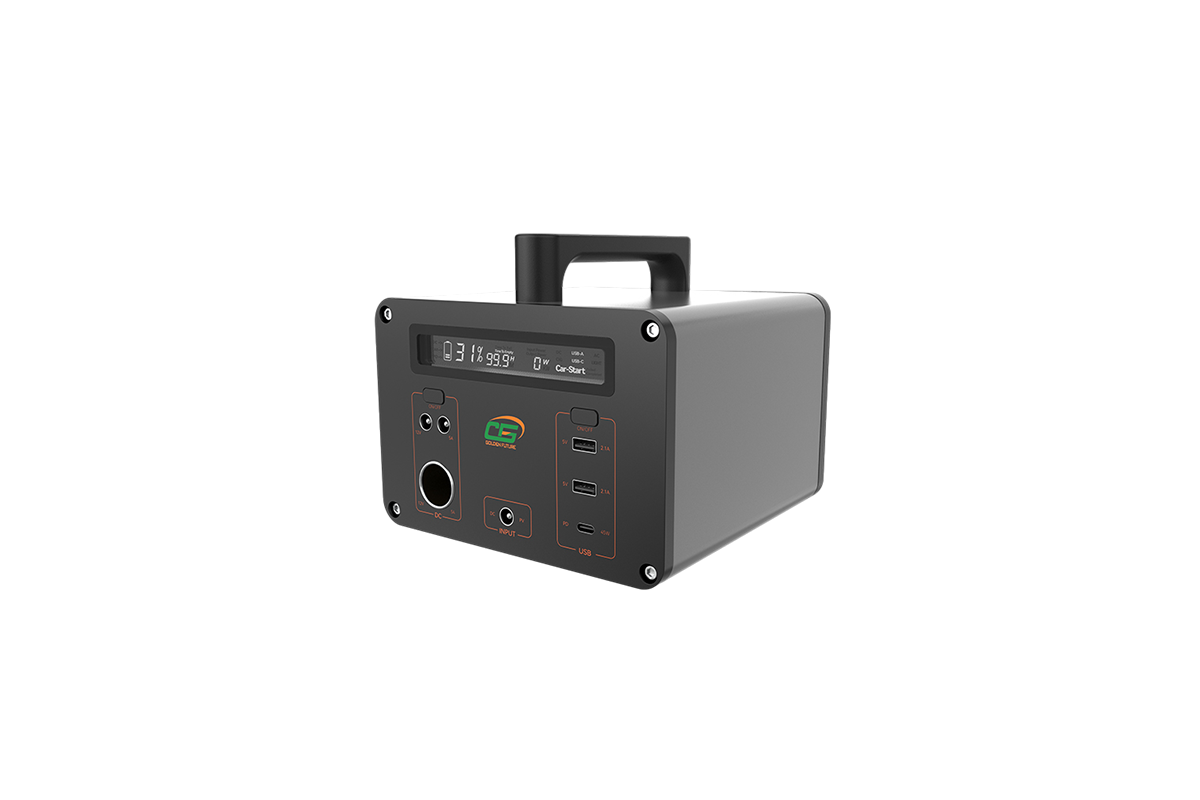
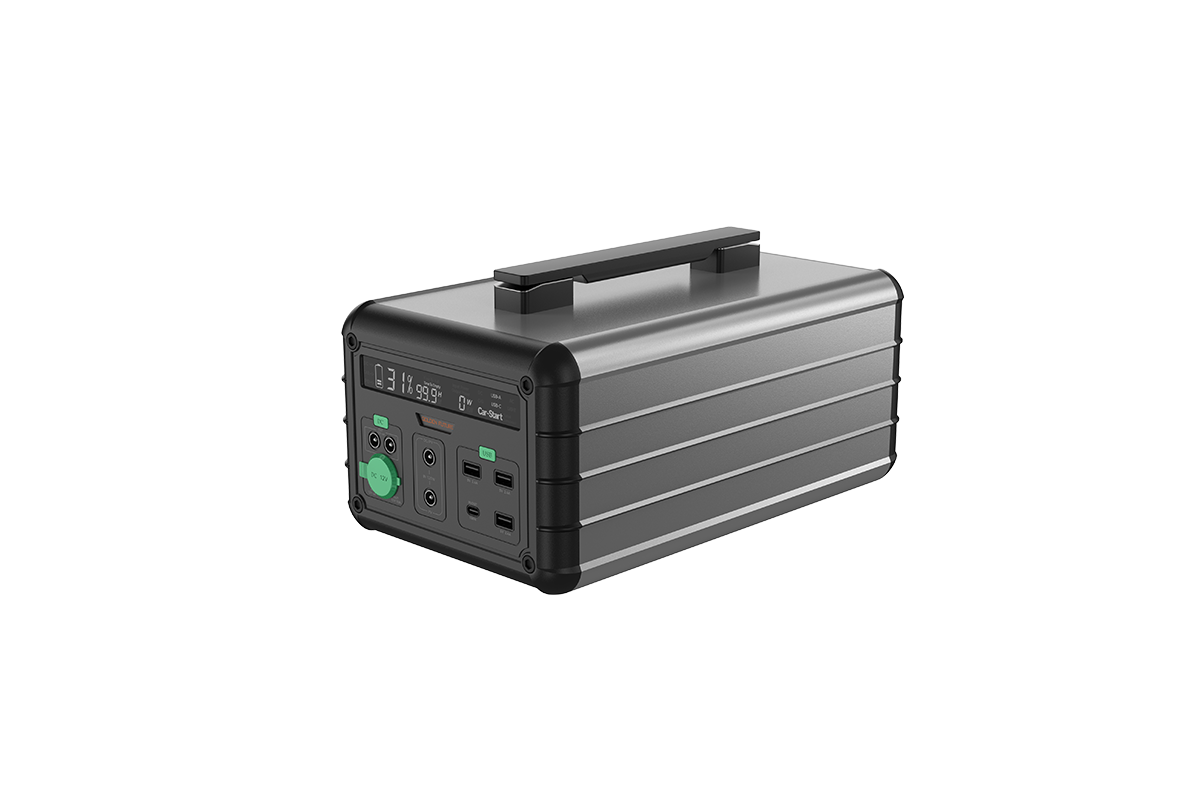
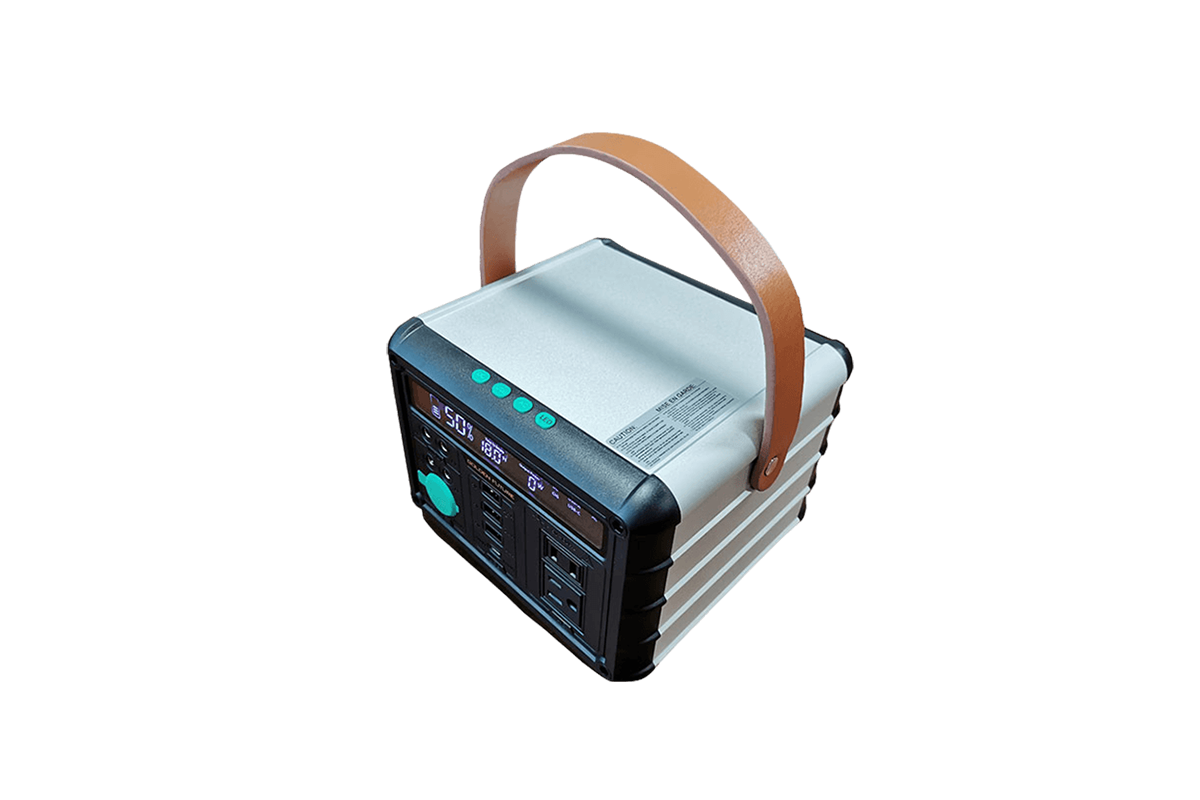
The second step is power supply to connected devices, which can be done once the power station is fully charged (or partially charged). For AC-powered devices (such as laptops, microwaves, or mini fridges), close the battery control switch, insert the device’s plug into the power station’s AC outlet, and then turn on the output switch. A green indicator light will turn on, indicating that the inverter is working and power is being supplied. For DC-powered devices (such as smartphones, cameras, or 12V fans), connect the device to the power station’s USB-A, USB-C, or car port using the appropriate cable – no additional switch is needed for most DC ports, as they provide power immediately upon connection. It is important to ensure that the total power consumption of connected devices does not exceed the power station’s continuous output limit (e.g., 1000W for a 1000W model). Additionally, if you need to use the power station for an extended period, you can use the external expansion terminal to connect an additional 12V battery for increased capacity, ensuring the voltage and positive/negative poles are correct. When not in use, store the power station in a cool, dry place, and charge it every three months to maintain battery health.


 59911926@qq.com/sales@goldenfuturehk.com
 13316809242 / 15816897019
 Inquiry
 Home >