


Time:2025-08-05 Views:1
20kW Solar Battery Installation Guide
Installing a 20kW solar battery system requires careful planning, adherence to safety standards, and familiarity with electrical components. This guide outlines the key steps for both off-grid and grid-tied systems, with a focus on LiFePO4 batteries (the most common for 20kW setups).
1. Pre-Installation Preparation
1.1 Safety First
Certifications: Ensure the battery, inverter, and components meet local standards (e.g., UL 1973 for batteries, IEC 62109 for inverters).
Permissions: Obtain electrical permits from local authorities (critical for grid-tied systems to comply with utility regulations).
Tools & PPE: Gather insulated tools (wire strippers, torque wrench), voltage testers, fire extinguisher (Class D for lithium), and PPE (insulated gloves, safety glasses, steel-toe boots).
1.2 Site Assessment
Location: Install the battery in a dry, well-ventilated area (temperature range: -20°C to 50°C). Avoid direct sunlight, moisture, or flammable materials.
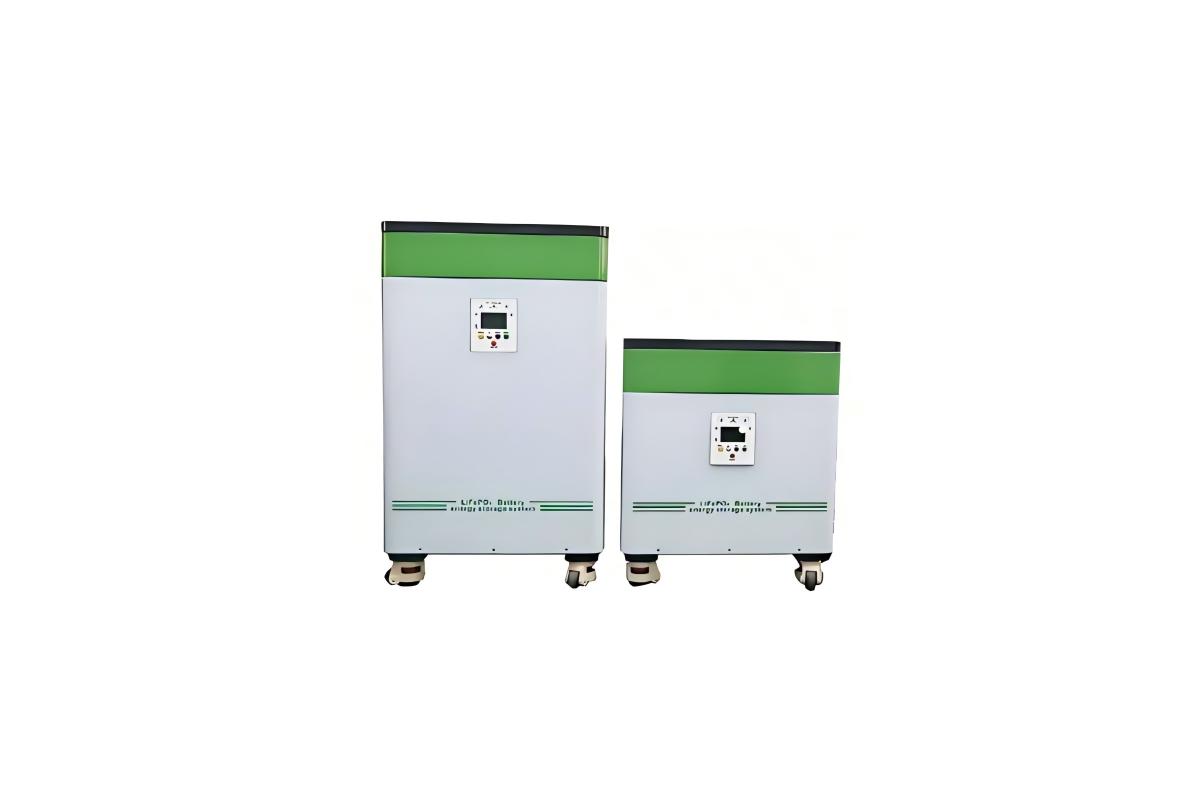
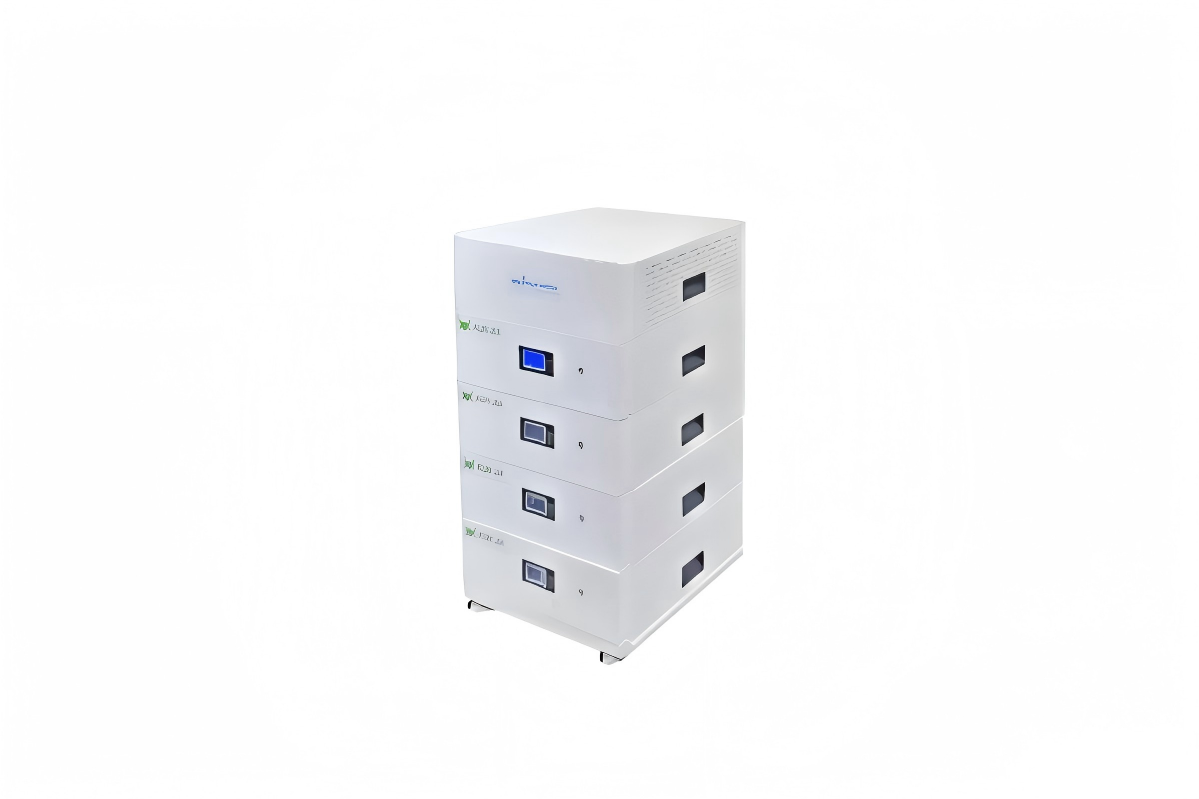
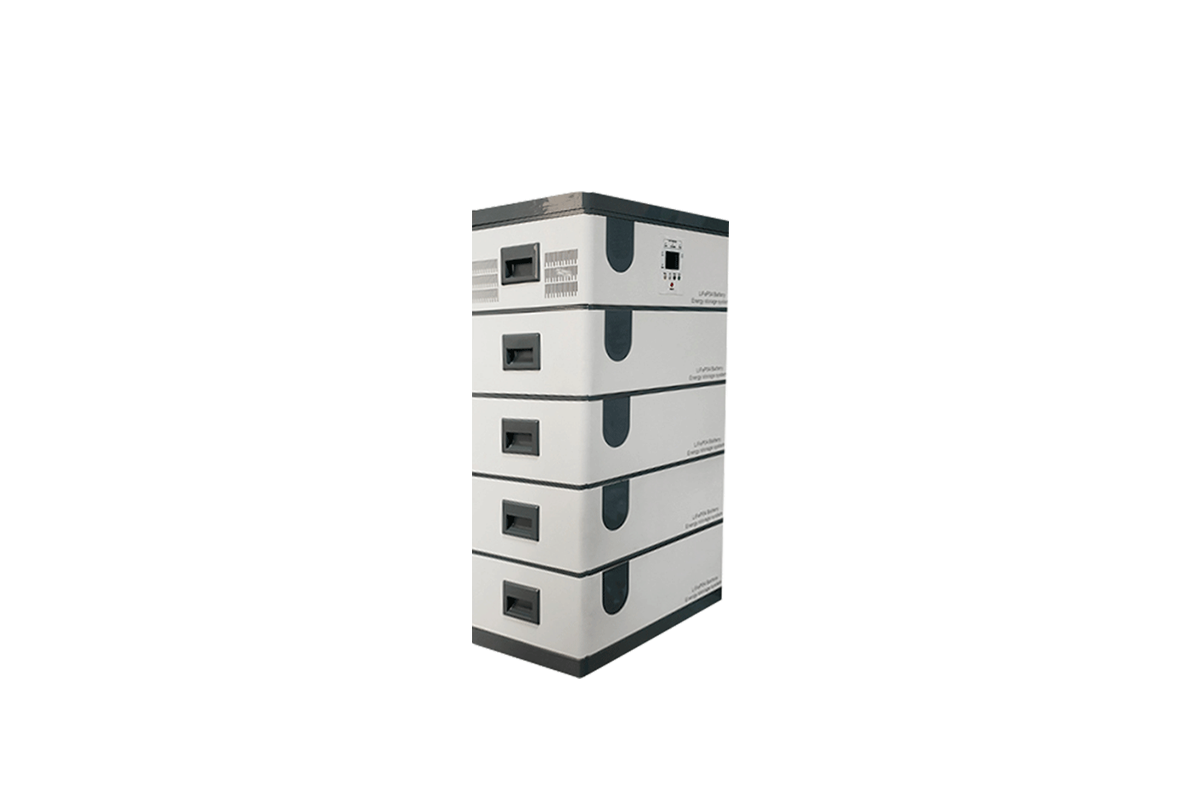
Space: Allow 30cm clearance around the battery for airflow. For modular 20kW systems (e.g., 4x5kWh units), ensure the floor/rack can support ~200-300kg (check manufacturer specs).
Proximity: Place the battery close to the inverter (minimize cable length to reduce energy loss) and solar panel array (if off-grid).
1.3 System Compatibility Check
Confirm the battery voltage (typically 48V or 51.2V for 20kW) matches the inverter’s input requirements.
Ensure the inverter’s maximum charge/discharge current (e.g., 100A) is compatible with the battery’s BMS (Battery Management System) limits.
For grid-tied systems: Verify compatibility with the utility grid (voltage: 110V/220V, frequency: 50/60Hz).
3. Step-by-Step Installation
3.1 Unpack & Inspect the Battery
Remove the battery from packaging. Check for damage (dents, swollen cells, loose terminals) – do not install damaged units.
Review the manufacturer’s manual for specific warnings (e.g., polarity, torque specs for terminals).
3.2 Mount the Battery
Install the battery rack/stand using expansion bolts (ensure it’s level and secured to a concrete floor or wall).
Place the battery on the rack. For modular systems (e.g., 4x5kWh batteries), connect them in parallel using the manufacturer’s parallel cables (follow polarity: positive to positive, negative to negative).
Note: Never mix battery ages or brands – this can damage the BMS.
3.3 Connect the Battery to the Inverter
Turn off all power: Disconnect the solar array, inverter, and grid supply (use lockout/tagout).
Connect the battery’s DC output to the inverter’s DC input:
Attach positive (+) battery terminal to the inverter’s positive DC input (use cable lugs crimped to the cable).
Attach negative (-) battery terminal to the inverter’s negative DC input.
Tighten terminals to the manufacturer’s torque (typically 8-12 N·m for M8 bolts) – over-tightening can damage threads.
3.4 Connect to Solar Panels (Off-Grid/Grid-Tied)
For off-grid systems: Connect the solar panel array to the inverter’s MPPT charge controller input (via MC4 connectors). Ensure the array’s open-circuit voltage (Voc) is within the inverter’s range (e.g., 150-800V DC).
For grid-tied systems: Connect the inverter’s AC output to the main electrical panel (via a dedicated circuit breaker, sized per inverter specs).
3.5 Secure & Organize Cables
Route DC cables through conduit (if outdoors) to protect from weather/rodents.
Use cable ties to bundle excess cable (avoid sharp bends, which can reduce current flow).
Label all connections (e.g., “Battery +”, “Inverter DC In”) for future maintenance.
4. System Commissioning & Testing
4.1 Initial Checks
Use a multimeter to verify no short circuits between positive and negative terminals.
Confirm all connections are tight (re-torque if needed).
4.2 Power On & Configure
Turn on the battery first (some models have a power switch).
Power on the inverter and follow the display prompts to configure settings:
Battery type (LiFePO4).
Charge/discharge limits (e.g., 80% DoD for longevity).
Grid-tied systems: Set utility voltage/frequency (match local grid).
4.3 Test Performance
Charge test: Check if the battery charges from the solar array (monitor inverter display for “Charging” status).
Discharge test: Connect a load (e.g., 5kW appliance) and verify the battery discharges smoothly without voltage drops.
Grid-tied check: Confirm the inverter syncs with the grid (no “Islanding” errors).
5. Maintenance & Safety Tips
Weekly: Inspect for loose connections or corrosion (clean terminals with a dry cloth if needed).
Monthly: Check battery temperature (should stay below 45°C during operation).
Annually: Verify BMS functionality via inverter logs (look for error codes like “Overvoltage”).
Emergency: If the battery swells or smokes, disconnect power, evacuate the area, and contact the manufacturer – do not use water (LiFePO4 is less flammable, but extreme damage requires caution).


 59911926@qq.com/sales@goldenfuturehk.com
 13316809242 / 15816897019
 Inquiry
 Home >